

How to Write a School Newsletter: A Step-by-Step Guide for Teachers
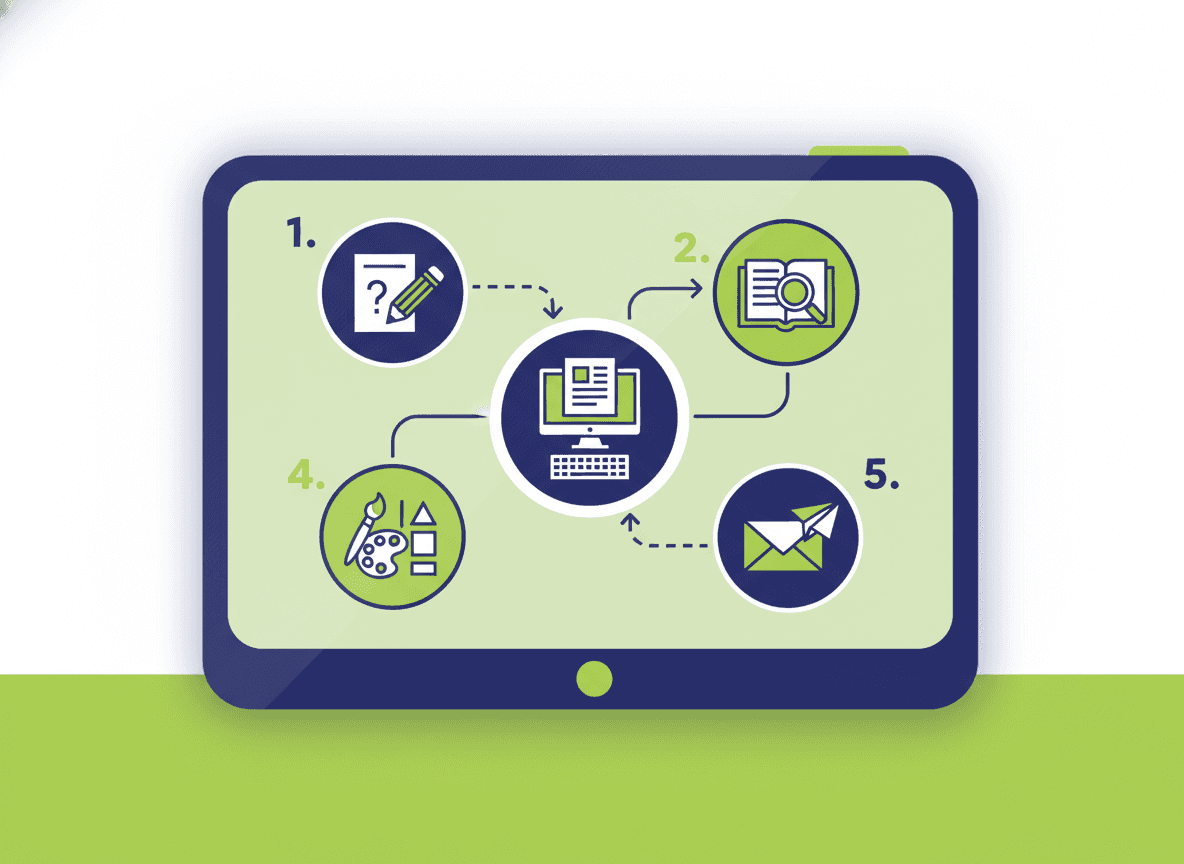
To write a school newsletter, follow six steps: gather your materials, write the subject line first, open with one sentence, cover what students are learning, list upcoming events with dates, and end with reminders , the full process takes under 25 minutes once you have a consistent template. This guide defines the process. Follow it once and writing subsequent newsletters gets significantly faster.
Before you write: gather your materials (5 minutes)
The writing goes faster when you have everything in front of you before you start. Collect:
- Your lesson plan or curriculum notes for the week: what each subject is covering
- Your school or classroom calendar: upcoming dates and events
- Any notes from this week that you want to mention: a notable class discussion, something a student did, a project result
- Any action items parents need to complete: permission slips, supply requests, sign-ups
- Your homework expectations for the week
Do not skip this step. The blank-page problem in newsletter writing is almost always a "I am not sure what to write" problem, not a "I cannot write" problem. Five minutes of note-gathering eliminates the blank page.
Step 1: Write the subject line first
Writing the subject line first forces clarity about what the newsletter covers. If you cannot summarize the two or three most important things in a short subject line, the newsletter may not have a clear focus.
A good subject line format: "[Your name or grade]: [Date] - [2-3 specific things]"
Examples:
- "Ms. Rodriguez's Class: Nov 4 - Fractions Start + Field Trip Friday"
- "2nd Grade Update: Permission Slips Due Tomorrow, Reading Groups Begin"
- "Mr. Lee - Week of Nov 4: Science Experiment Results + Supply Request"
Writing the subject line first also helps you decide what goes in the newsletter. If something is important enough to be in the subject line, it gets a prominent spot in the newsletter. If it is not important enough for the subject line, it might not belong in the newsletter at all.
Step 2: Write the opening paragraph
Two to three sentences. One specific thing that happened in the classroom this week. Do not start with a generic welcome or a statement about how great the week was.
Specific and short beats general and warm every time:
Generic: "What a wonderful week we had in Room 12! Your children worked so hard and we are so proud of them."
Specific: "We started fractions this week using pattern blocks, and the class debate about whether a half and two fourths are the same was the best argument we have had all year. It will make more sense when you see their homework tonight."
The specific version is shorter, takes less time to write once you have your notes, and is more likely to get parents to keep reading.
Step 3: Fill in "What We're Learning"
One to two sentences per subject. Use your lesson plan notes. Describe what students are working on, not just the unit name.
Less useful: "Math: Fractions"
More useful: "Math: We introduced fractions this week, focusing on halves, thirds, and fourths using visual models. We will begin equivalent fractions next week."
Cover reading/ELA, math, and at least one other subject. Skip subjects where nothing notable is happening this week rather than writing a filler sentence.
Step 4: List upcoming events
Bullet list. One line per event. Date, event, any parent action. Cover the next two to three weeks. Anything further out can wait for a future newsletter.
Format that works: "[Date]: [Event]. [Parent action if any]."
Example: "Nov 14 (Thursday): Field trip to the science museum. Permission slip due Nov 11. Students bring a packed lunch."
Write dates in full (November 14, not 11/14) to avoid confusion, especially in schools where date format conventions vary by family background.
Step 5: List action items for parents
Separate the "you need to do something" items from the general information. Parents who are looking for action items should not have to read the whole newsletter to find them.
One bullet per action item. Include: what to do, when, how (submit via email, send back with student, sign in the online portal). Missing any of the three makes the action item incomplete.
Step 6: Add homework and reading reminders
Short and consistent. If homework expectations do not change week to week, a single line is enough: "Regular reading log: 20 minutes per night, log in the green folder." If there is a specific assignment this week, note it separately.
Step 7: Optionally add a photo
One photo, one sentence caption. A photo of student work, a classroom activity, or a classroom environment image (not students, unless you have consent). A photo does not take long to add in Daystage: drag and drop or upload, add a caption, done. Skip this step if you are in a hurry. It is the section that is easiest to cut.
Step 8: Preview, check, and send
In Daystage, the live preview pane shows the formatted newsletter as you write. Before sending:
- Send a test email to yourself
- Verify the newsletter appears in your inbox as an email, not a link
- Check that all dates are correct
- Check that the subject line is updated from last week if you duplicated
- Click send
The total time
First newsletter: 30-45 minutes. Subsequent newsletters using the duplicate workflow: 10-15 minutes. Teachers who have sent 20 or more newsletters with a consistent structure typically report 5-8 minutes per newsletter.
The time savings come from: not redesigning the layout each week, not making decisions about what sections to include, and having the gathering-materials step embedded in the weekly routine.
The bottom line
Writing a school newsletter is a process skill. Define the process once and each subsequent newsletter is faster. The eight steps above define that process. The tools that support the fastest version of this process: a dedicated school newsletter tool with a duplicate-last-week workflow and a slash command editor. Daystage was built around exactly this workflow.
Get one newsletter idea every week.
Free. For teachers. No spam.
Frequently asked questions
When should teachers sit down to write the weekly school newsletter?
Write it Thursday morning or Thursday evening for a Friday send. Writing earlier in the week means you are missing information about what happened on Wednesday and Thursday. Writing Friday morning risks a time crunch. Thursday evening is the sweet spot for accuracy and a calm review before sending.
What should teachers include when writing a school newsletter?
Include the subject line first, then a short opening paragraph, what students are learning in each subject, upcoming events with exact dates and what parents need to do, homework and reading reminders, and an optional photo. That structure covers everything parents need and can be written in under 20 minutes.
How long should it take a teacher to write a school newsletter each week?
A weekly classroom newsletter should take 15 to 25 minutes to write once you have a consistent template. The first few newsletters take longer because you are establishing your structure. After 4 to 5 newsletters, the time drops significantly because you know exactly what goes in each section.
What are common writing mistakes teachers make in school newsletters?
Writing long sentences that bury the action item is the most common mistake. Parents skim newsletters, especially on mobile. If the permission slip deadline is in the third sentence of a paragraph, many parents will miss it. Put action items in a dedicated section with short sentences and specific dates.
What is the best tool for teachers who want a structured writing workflow for weekly school newsletters?
Daystage uses a block-based editor with labeled sections for each part of the newsletter. This structure guides you through what to write rather than starting from a blank page. The layout duplicates from the previous week, so you only replace the content rather than rebuilding the structure.

Adi Ackerman
Author
Adi Ackerman is a former classroom teacher and curriculum writer with 8 years in K-8 schools. She writes about school communication, parent engagement, and what actually works in real classrooms.
More for Guides
Ready to send your first newsletter?
3 newsletters free. No credit card. First one ready in under 5 minutes.
Get started free